Sunday, November 10, 2013

Sass it Forward- Toy Safe Drive

.
This post is way past due since my little one decided to take an unexpected trip to the hospital. Jules & I started this blog to show our crafting adventures & mishaps however in addition to that we also wanted to find a way to participate in & promote charitable events.  
Of course the spirit of this is all about Pay it Forward and 
in keeping with the theme of our blog we call ours Sass it Forward

So here is our first Sass it Forward Event we are so proud to be working with & supporting 
Ellianna's Ohana & their amazing "Toy Safe Drive"

Let me first introduce you to Ellianna's Ohana.  This beautiful charity born out of love by our dear friend from grade school Taunya in honor of her daughter Ellianna.  
Here is Taunya & Ellie's story in her words:

This will be the fourth event I have hosted in honor of my daughter, Ellianna. Ellie was killed in January of 2009 in a car crash that occurred on Union Hills Road. She was just ten days shy of her fourth birthday when the car she was safely strapped into, in a car seat installed by the fire department, was hit by a car speeding 92 miles per hour in a 45 mile per hour zone. The driver had a current warrant out for his arrest for a previous DUI and was on a self-proclaimed "beer run" at the time of the crash. Ellie was unconscious on scene and remained so during her four days at St. Joseph's Hospital as the doctors there did everything they could to save her life. The injuries she sustained were unrecoverable. We hosted her funeral on the day that was to be her 4th birthday party. Because of the way that Ellie was killed, the safety of our streets is an important cause for me. I have volunteered with our law enforcement at several DUI checkpoints where I have witnessed DUI vans fill with the "taking" and they overflow with it during the holidays. The Governor's Office of Highway Safety has provided a DUI processing van that we will fill with toys and other needed items for the children of Crisis Nursery. Let's fill this van full of "giving" instead of "taking", especially as we head into the holiday season. Let's help meet the needs of these children while we remind our community of the need to drive safe!


I really want to challenge all of our friends reading this to please participate in this event in one way or another.  Our lives are built up of all these little moments where we can choose to help someone. It may be just a small act but lots and lots of small acts can lead to really really BIG things, and of course that's what Sass it Forward is all about.  
Tonight at mass the priest was talking about being a saint & that we are all called to be a saint.  Of course that sounds so overwhelming, I know I was like dude I'm pretty sure sainthood is not in the cards for me but he said not all of us are called to be like Mother Teresa or St. Francis or the Pope. Those people had specific calls from God who granted them the grace to do the things they did.  The way in which we can all be saints is by the small things we do in our lives.  The love we give our families, the way we love others, the way we help those in need.  Small moments everyday that add up to something big.  

So keeping this in mind I ask you to please participate in this event.  
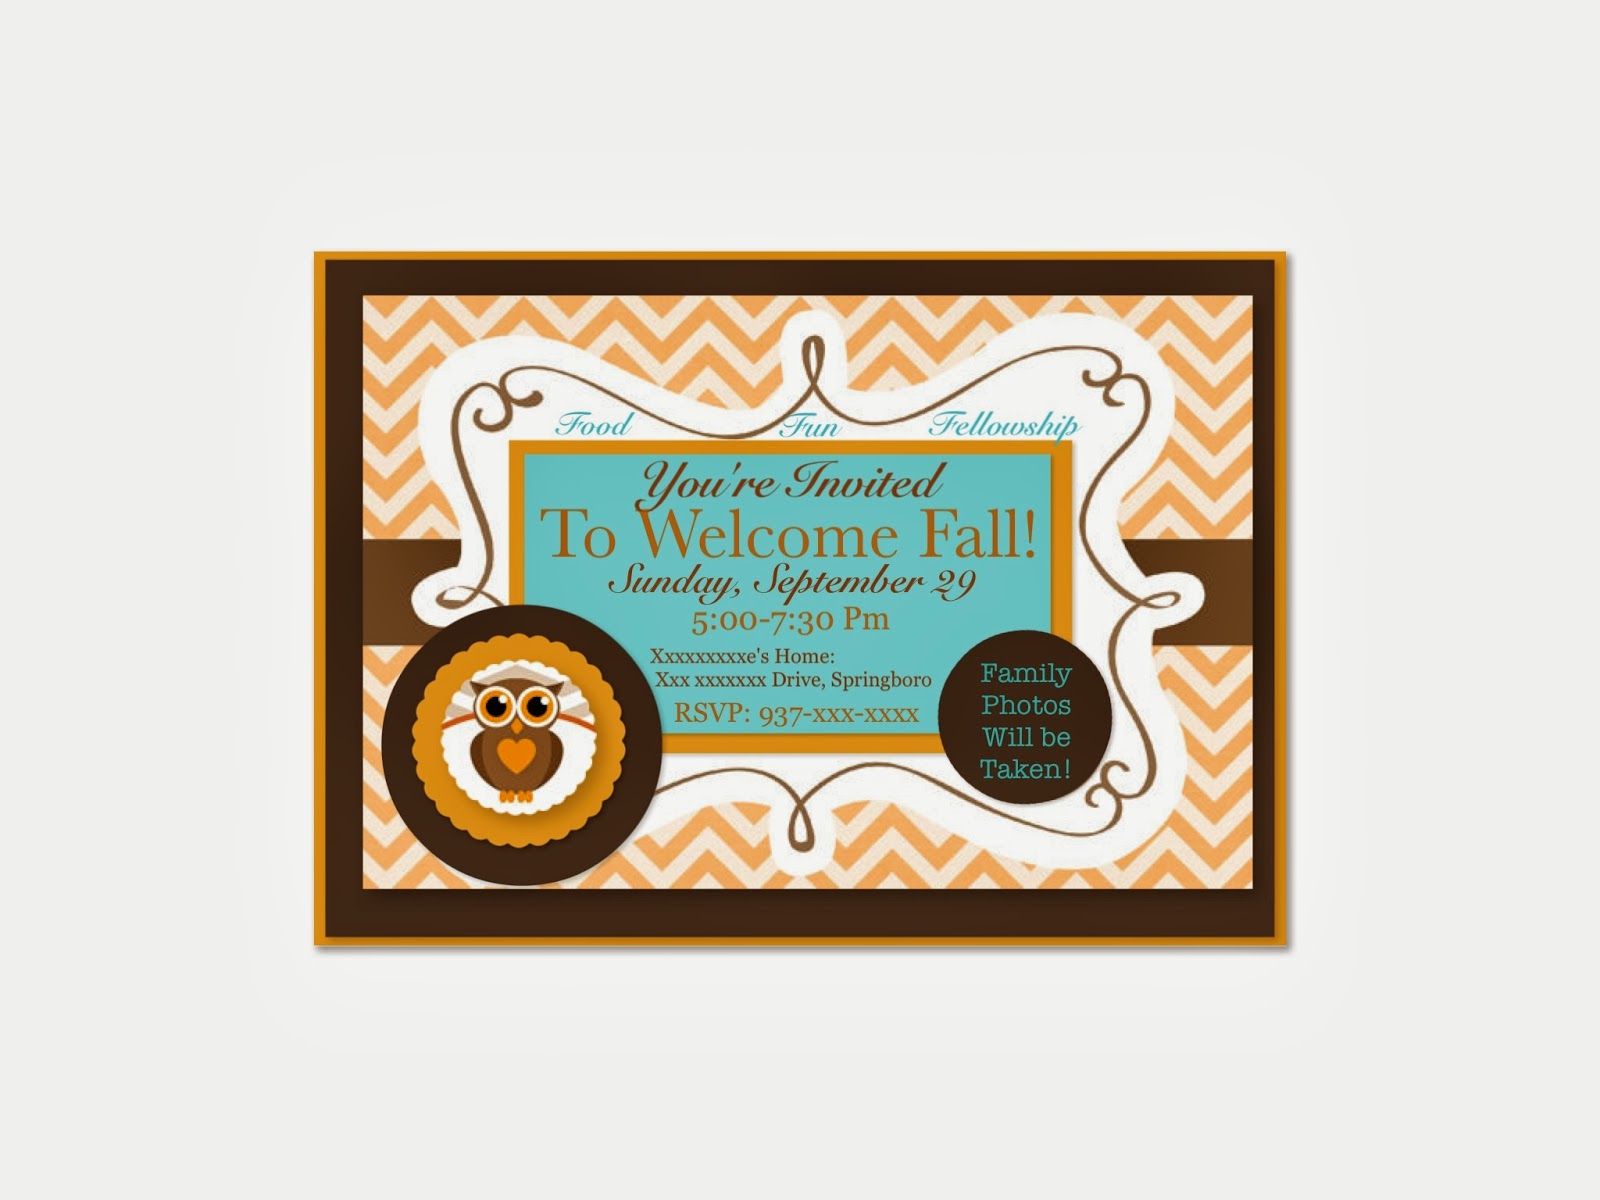
Ideally we would love to see you at the event on November 23 
which will have many awesome things
 including fire trucks, police cars, train rides, & clowns to name a few things. 
 If you cant make it to the event then please still consider donating items.  
Ellianna's Ohana's Facebook page has ideas of what the Crisis Nursery needs or you can just donate a toy.  Just message me & I will be happy to pick up the items anywhere in Arizona. 
 If you are not in a position to donate than please just share this event.  
Like the page & share it with others & tell your friends.  
This event is shaping up to be something extraordinary but that can only happen with help from people like you so please give us just a moment to create something big.  
Like this page & share it with all your friends!


Saturday, October 26, 2013

Sew Sassy Cute Couture Debut

So I've finally hunkered down and learned how to use my sewing machine... and learn to sew! I say finally because I bought my "new" sewing machine when I was pregnant with my son, ummm, almost FOUR YEARS AGO! It has never been used since I got it because it just seemed too overwhelming to thread it and actually sew! Well, guess what?? It's no so hard after all! A little over a week ago I thought, this is ridiculous, I'm constantly buying stuff on Etsy.com that I simply love and I'm sure I could make. I just LOVE ruffle pants, apron dresses, peasant tops etc. And I LOVE brands like Persnickety, Matilda Jane and Giggle Moon with these adorable styles, but they're just a little too pricey to be buying all the time. I do sneak them in when I can get away with it, but why not LEARN to make this stuff?? So I set out and found some great tutorials on how to make these little outfits. (I need to hurry because my youngest daughter is five and I know she won't allow me to dress her like this for much longer!)

The first tutorial I searched for was for the ruffled pants. The easiest and user-friendly tutorial I found was on a blog called www.campclem.com She has a post titled, "Fast, Easy, Stinkin' Cute Ruffle Pants." and she was right!! She made it soooo easy to make ruffled pants... and cuffs for a shirt! I used some left over material from Maddison's halloween costume that I made, so they're kinda funky, but not bad for my very first thing I've sewn! She also had a great tutorial on applique shirts. So  I used an old, too small shirt and practiced with that. Below are my results:

I don't love, or even really like the turkey, but hey it was good practice!
I seriously have become obsessed with learning to sew so I attempted another pair of ruffle pants, a bib shirt and yes, a tie for my little man! You know how I love to match!!


Then came a dress. I used another one of my daughter's old, too small shirts and turned it into a dress. Now this was seriously the easiest thing ever!! 


And for my final project for the week...you guessed it, another pair of ruffled pants and bib shirt, but this time with a headband to match! 


For the bib shirt, I found another great blog called Bless Our Nest, which you can find over at thedavisfamilynwa.blogspot.com. She laid it all out so easily! I think my ruffles are a bit too big on the shirt, but again, I'll take it for my first attempt :).

Now my next goal is to learn how to use an actual pattern. I bought several a few days ago at JoAnn Fabrics for $1 each that are so so super cute. I'm just a little overwhelmed with all the pattern instructions etc, so a friend is going to help me learn how to do it all the right way, lol! I'll let you know how it goes! In the meantime, thanks for checking out my stuff! It's been so much fun!
<3 Sassy Jules


Friday, October 4, 2013

Happy H-owl-oween!

So I promised another owl post, here it is! My daughter decided she wanted to be an owl for Halloween this year (okay really I decided since I still can and it will probably be the last year I can). I thought it would be fun to try and make her costume. I normally try to convince all the kids to be part of a theme, because yes I'm dorky like that and like us to coordinate and I think themes are more fun. Since my three year old son INSISTS on being Captain America or Iron Man, and I'm over the whole super hero costume thing, I decided an owl might be fun. And by making one, it wouldn't be the same costume as all the others. I looked all over Pinterest for Owl costume tutorials and found a couple of cute easy ones that I used to pick and choose from.  Here were two that popped up that were super cute!
Check out her step by step directions on this cute little number over at:
http://alphamom.com/family-fun/holidays/last-minute-kids-owl-costume/
Here's another one that really helped me out:
 (minimal sewing and a pillow case, add a few dozen 
glue sticks and hot glue gun, even I can do that)!


You can check out her detailed info over at
http://www.5orangepotatoes.com/blog/2010/10/25/how-to-make-an-owl-costume-from-a-pillowcase/
                                                               Here is what I ended up doing:

First, I went and bought a yard of brown felt and three fabrics with different patterns that I wanted. I LOVE orange, pink and brown together so that's what I looked for at the fabric store. I already had the hot pink pillow case and hot pink and orange pom pom ball ribbon. I also already had the hot pink long-sleeved shirt and leggings for underneath, so this owl costume was super cheap to make (about $10 bucks!)! Then I cut a feather shape pattern and spent hours (no, seriously, HOURS) cutting many many many feathers. I was going to sew them all on, but then thought it would be sooo much easier to just hot glue them on. Since this will only be worn twice (for the preschool parade and trick-or-treating)  hot glue it was! I lined up my feathers next to the pillow case and made a pattern and then just hot glued them in place. Oh yeah, I cut a hole for the head and arms out of the pillow case before glueing. I also folded up a hem to make the pillowcase dress the right length for my daughter. Normally, I would've sewed that too, but nah, hot glued that baby up too! Hot glue is the best!

The next step was the wings. I had Maddison lie down on the yard of brown felt and just cut out the shape around her.

Then you guessed it, laid the feathers out in my desired pattern and glued the gazillions of feathers in place. Also which took FOREVER (or so it seemed).
Maddison added to my pattern on the left because of course, she needed to help make the costume.

Tada! The finally completed wings
I wanted to add more detail so I glued that pom pom ribbon stuff to the top of the wings and and the bottom of the pillowcase dress. Then I took some material, made two straps for the inside of the wings to slide her arms in, and put a button on the top middle of the inside of the wing cape to attach to the dress. I had a few extra feathers and pom pom ribbon, so I hot glued them to an old trick-or-treating candy bag we already had. I mentioned I like things to match right?
The final part of the costume to do was the mask. Here's what I started with:

I also got a sheet of brown foam and cut more feathers for the mask. I'm not entirely happy with the end result of the mask, but hey, Maddison was... and that's all that matters!
As you guessed, I hot glued everything in place. I did some stitching around the eyes and top of the head to make it "look" sewn. I feel like it looks more like that character in Madagascar than an owl, you know the king of the Lemurs, is it??... "I like to move it, move it." Yeah, you know the one. Anyways, here's the finished product:
My little owl model


I just neeed to make sure the straps are tighter so she can actually see, lol


I'm thinking about adding some tail feathers, but that would mean more cutting and glueing...we'll see!


Anyways, there you have it! My first homemade Halloween costume. Super cheap, super easy, just a little tedious. All in all, it took me a solid day and a half to put the whole thing together. Not too terribly bad!!

Thanks for reading! If you enjoy reading about our Sassy little projects, PLEASE SUBSCRIBE TO OUR POSTS and like our Facebook page. You can do this at the very bottom of the page, by clicking on the link :) We'd be forever grateful!
Thanks a ton,
Jules


Thursday, October 3, 2013

Throw Back Thursday!

Throw Back Thursday! 
Yep we really have been Bestfriends through it all even really Big Hair & Braces.
This lovely photo courtesy of the photo studios at Kmart a favorite for BFF pics in the early 90's #TBT


Monday, September 23, 2013

Let's Make a Cake!

So it's my turn to write something & I am feeling a little anxious as Jules has proclaimed me the better more creative writer.  Truth be told she is only saying that because I use to help her write some papers in high school & really that is where my writing career started & ended.  However I am determined to do this.  I will probably start off slow & I can guarantee that I will break most of the rules of grammar but I am going to try my bestest! (<See, told ya)

I have been out of commission the last few weeks after I crushed my finger to bits saving my daughter from a falling boulder.  That sounds so very dramatic, I realize.  I can only imagine how much more dramatic its going to sound through the years as I retell it adding more & more gory details about the dramatic rescue.  That is one of the joys of being a mother isn't it?? acquiring stories to one day use to guilt your children..or is that just me. (I'm sure you are quickly seeing who the better mommy is on the Sassy Mama blog)

Now I can post some gnarly pics of my mangled finger, however since this is supposed to be a Blog sharing all the crafty stuff we do I guess I will share my first project since the stitches came out.

I was asked to make a 40th Birthday cake...I was sent some inspiration cake pictures showing shoes, purses,make up & flowers & a request for the color purple...So here is what I came up with using that criteria:


Now at the risk of destroying the illusion that I am so very talented at this cake decorating thing here are few tricks/steps etc. because really anyone can do a cake like this it 
really isn't that difficult.

First...I have ABSOLUTELY no idea what I am doing...I took two basic classes at Michaels which were great & I learned the "jist" of it, and then I take that knowledge & just wing it & figure it out.  I continue my education by watching Cake Boss, Cupcake Wars, Ace of Cakes stuff like that.  I probably should take more real classes & really apply myself...but I don't. 
(are you also seeing who is the more "go getter" Mama)
The point is you can totally half ass this & still make really cute cakes...PERFECT.

So Lets Break this down.  First cover your cake in Fondant
 (this is what I consider the Basics which the Wilton cake classes teach very well.)


Then use cookie cutters to cut out shapes in the fondant you want to decorate your cake with.  To attach them you can use some special sugar glue thing they sell or you can use...a glass of water & paint brush...try & guess what I use. 
(have I mentioned I am the cheapest chic you will ever meet) 

 Now to get the cool print you can buy those Sugar Sheets things for only $3.50.  They are awesome they have a piece of thick plastic on one side which allows you to trace whatever shape you want with a sharpie & then cut it out & glue it right where you want with 
your magic potion...water. 

To cover where the fondant meets the bottom & looks unfinished you can use frosting or little balls of rolled fondant which I love to use.  The way I like to make the balls is I make my 16 year old son pry himself away from FIFA & come down & roll them for me. He complains & hates me the entire time...it's my favorite.  I then "glue" them on & take credit for them.

As it is you have a pretty cute cake...BUT..it's all about the details


For the shoe I found this awesome YouTube video where this girl gives a really good tutorial & she also has a template you can find by simply googling> fondant shoe template < in google images.  That Template was so simple & helpful & amazing & I sorta love the girl who made it thus saving me lots of trial & error & made me look cool & talented.(See the illusion slipping away).  For the change purse I just kind of winged it molding it & such 
& attaching two silver balls to the top.

Behold the template assembled...AMAZING

and  here is the you tube video tutorial I liked..also I do not use any recommended tools I may have to spend money on, I use whatever I can find that I think will work

http://youtu.be/z3IPKUnIuGw

Since I have no idea how to Blog yet & my teenager is not home to teach me you may have to copy & paste that link.


A few more details: the pearls are balls of fondant (I rolled these myself) and I threaded them with nylon string and attached them with frosting.

The lipstick is 3 different sized cubes attached with..you guessed it water. Cut the lipstick at an angle with a regular old butter knife. & smoothed it out.
The lid was yet another cube & MAC was written with edible marker. 

The little flowers are cut out with cookie cutters, with tiny little white balls glued in the center.

All of those details were attached with frosting.  When I say frosting I do not mean Duncan Hines it needs to be cake decorating icing which you can buy in a container just like 
Duncan Hines in the cake decorating section.

TA DA! That's it! Cake complete! Now I know this is not very professional. Its not the best cake you will ever see & I certainly didn't do everything the way they would teach me in the class (which I really should take)  The bottom line is with a little bit of knowledge, and a few steps all of us moms out there can make really cute cakes for our parties.  There is no reason to spend hundreds at a fancy bakery.  Of course if it is a high end party or a wedding or some other once in a lifetime event I would hit the fancy bakery because I am pretty certain they HAVE taken All the classes & it will look really good and everyone will oooh & ahhh...but if it is your 5 year olds birthday party... I say give it a try yourself & guess what I have learned? Everyone 
will still oooh & ahhhh & you will feel so cool like a Cake Boss.

...and just because everyone likes getting there backside checked out now & then here is the cake from behind ( have you also figured out who the more inappropriate Mama is)


Friday, September 20, 2013

Fall Y'all

It's Fall Y'all! I've always wanted to say that like I'm from the South! Let me just digress from what this post is supposed to be about for a second and say that I LOVE LOVE LOVE the South! The beaches, the little girls with BIG bows, SWEET TEA, the sweet little smocked dresses, the accents, EVERYTHING monogrammed, the cute little Jon Jon outfits for the little guys... So cute! Anyways, on to what this post is really about.

So Sunday, September 22 begins the season change from summer to fall- Another good reason to throw a party right?? Yeah, I thought so too!

Luckily I was asked to help style a "Welcome Fall" party for a friend at church. Here is a preview of some of the preliminary paper products I've designed so far. The only request was to have owls in the theme- a popular request lately! (You'll see ANOTHER owl project I've been working on soon!) So I threw in some owls with fall colors and a pop of Tiffany blue to lighten it up. The menu will consist of yummy fall foods and smells and will of course include pumpkin breads and dips,  apple cider and of course caramel apples and those cute little owl s'mores I've seen all over Pinterest! I must admit, I really do LOVE Fall here in Ohio and it should be celebrated (it's just what comes after that I find so devastating)!


The Invitation


Any great fall party ideas you've done or seen out there that I should try out? Let me know if so!

Thursday, September 19, 2013

New Beginnings


So the new school year brings about New Beginnings... Yes for my cute kiddos (whose pic I just couldn't resist sharing)... But also for me. I've found that with the kids heading back to school, I have a new sense of wanting to start fresh and start over in many aspects of my life. While summer is undoubtedly the best season for me (remember I need all the light therapy I can get and all the other seasons here seem to really lack that) I really like a new beginning to try and get reorganized... OK I'll admit it, not reorganized but actually organized. Like the kids, I do much better with a schedule and routine to make me more productive. In an attempt to organize my life, I searched through Pinterest to find some great free printable to help organize my days. While there are a ton out there, I decided I needed to create my own, that would have what I needed on it. I thought I'd share with you, just in case my printable might be of value to you! I laminated mine and just use a dry erase marker so I don't have to make a million color copies... There is a different one for each week day. Let me know what you think!
-Sassy Mama Jules

Monday To Do List- each day has different "to do's"

Monday, September 2, 2013

Look Whooo's Having a Baby!

Sassy Mama Jules here... (And don't worry mom, I would've told you first if it were me!)

So I was asked to help style a friend from church's baby shower... My answer, "umm yeah, any chance to party decorate!" So the theme is based on the nursery decor.. and the colors are yellow and grey. How adorbable! Needless to say I started planning and creating that very night, when at 12:30 midnight I realized I needed to get to bed (sooo not a night owl like Sassy Mama JJ!) Anyways, here are two of the rough draft invitations I designed so far. What do you think is better??

Shower Invite Option # 1
                                                                                                  Or...
Shower Invite Option # 2
Comments and suggestions always appreciated! But remember, I am a novice at this after all! :)